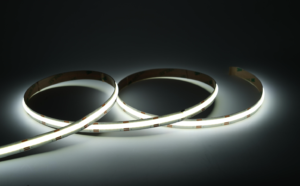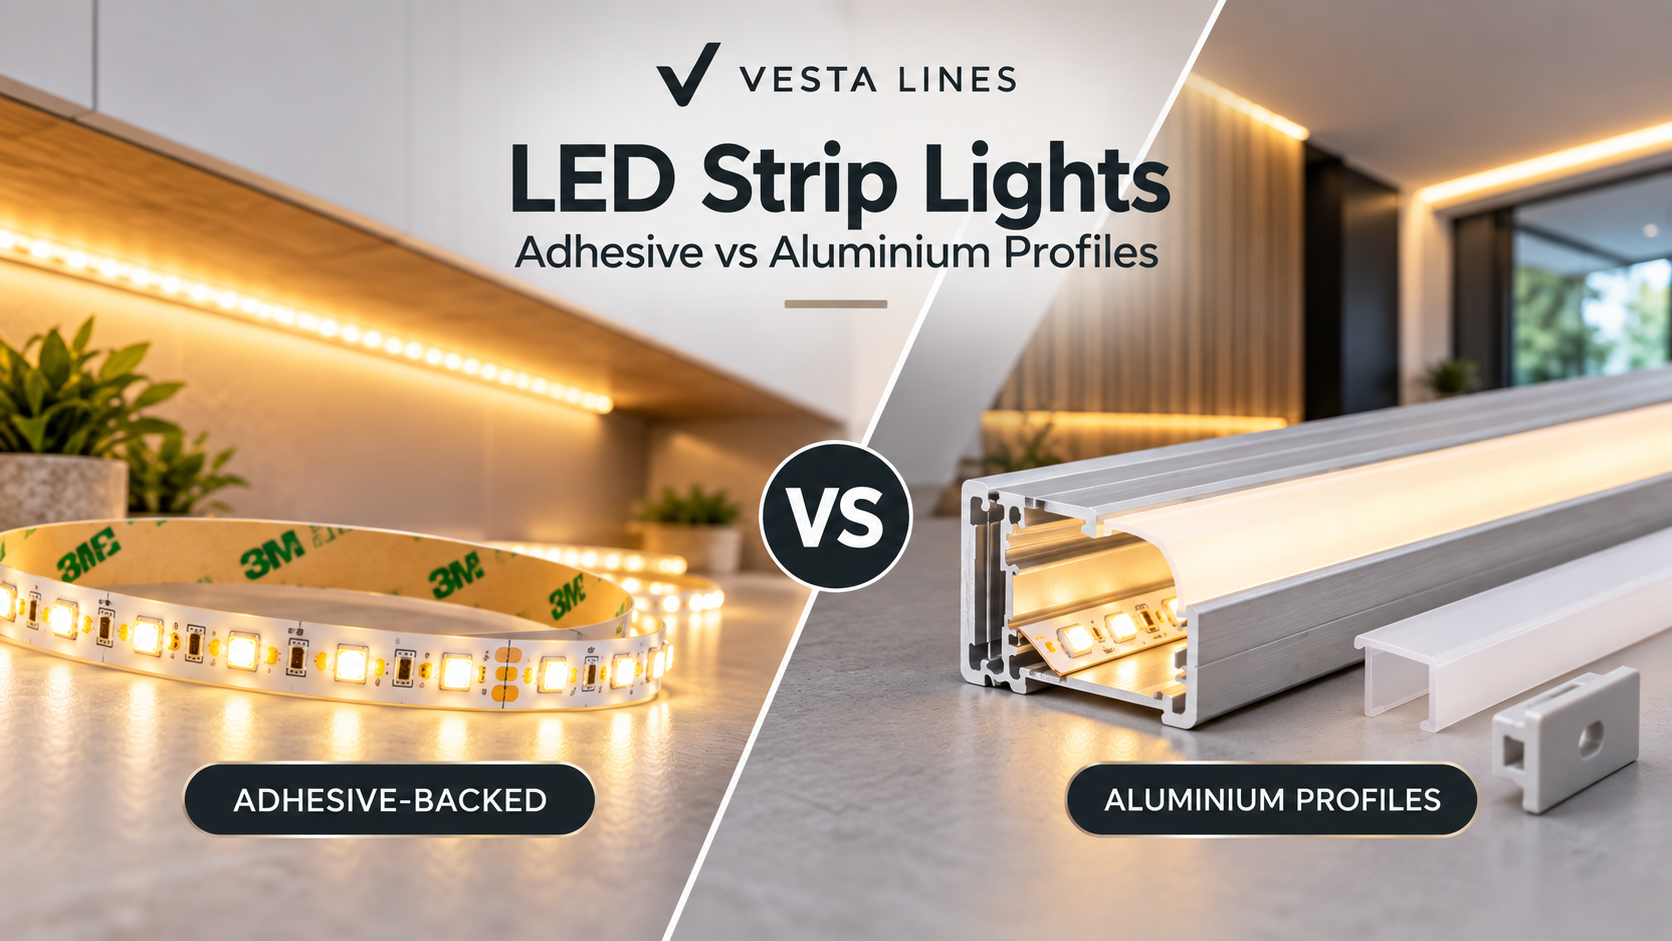
LED Strip Light is one of the most versatile ways to create functional, decorative and architectural illumination. However, choosing the right LED strip is only part of the installation. How the strip is mounted can have a major impact on appearance, heat management, durability and long-term performance.
There are two common installation methods:
- Adhesive-backed LED strip lighting
- Aluminium profile-mounted LED strip lighting
Both options have their advantages. The right choice depends on the application, installation surface, required finish, heat dissipation requirements and whether the lighting is intended as a temporary or long-term installation.
Adhesive-Backed LED Strips vs Aluminium Profiles
Adhesive-backed LED strips are generally quick and straightforward to install, making them suitable for cabinets, furniture, shelving, decorative lighting and many DIY applications.
Aluminium profiles provide a more professional installation. The profile protects the LED Strip Light, provides a mounting system and helps transfer heat away from the LED strip. Profiles can also be combined with diffusers to create a cleaner, more uniform appearance.
| Feature | Adhesive-Backed LED Strip | Aluminium Profile-Mounted LED Strip |
|---|---|---|
| Ease of installation | Excellent | Good |
| Initial installation cost | Lower | Higher |
| Heat dissipation | Limited | Better |
| Protection of LED strip | Basic | Improved |
| Long-term installation | Suitable | Excellent |
| Curved or irregular surfaces | More flexible | Depends on profile |
| Professional finish | Good | Excellent |
| Diffused appearance | Limited | Excellent with diffuser |
| Protection from physical damage | Limited | Improved |
Which installation method should you choose?
For a quick, simple or budget-conscious installation, adhesive-backed LED strips can be a practical solution.
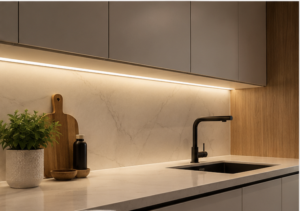
For architectural lighting, kitchens, cabinetry, commercial projects, retail displays and premium residential installations, an aluminium profile can provide a cleaner finish and better protection for the LED strip.
If you’re unsure which installation method is suitable for your project, the Vesta Lines team can help you select the appropriate LED strip, aluminium profile, diffuser and accessories.
Where Can LED Strip Light Be Installed?
LED strip lighting can be used throughout residential, commercial and architectural spaces.
Common applications include:
- Kitchen cabinets and benchtops
- Wardrobes and shelving
- TV and entertainment areas
- Staircases
- Ceilings and bulkheads
- Cove lighting
- Retail displays
- Shopfronts
- Hospitality interiors
- Offices
- Architectural features
- Signage
- Furniture
- Commercial display areas
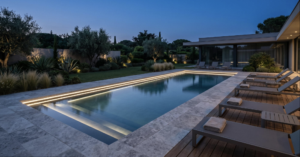
- Outdoor areas using appropriately rated waterproof LED strips
The installation environment is important. LED strips should be selected according to the temperature, moisture and exposure conditions of the application.
For outdoor or wet-area applications, select an LED strip and accessories with an appropriate IP rating.


Adhesive LED Strip Installation
Adhesive-backed LED strips can be relatively simple to install. However, careful preparation is important to achieve a clean and reliable result.
Step 1: Measure the installation area
Measure the length of the area where the LED strip will be installed.
Allow for the location of the power supply, controller and any connectors that may be required.
Step 2: Check where the LED strip can be cut
Many LED strips have designated cutting points.
Always cut only at the marked cutting points shown on the LED strip PCB.
Cutting in the wrong location can damage the circuit or prevent part of the strip from operating.
Step 3: Test the LED strip
Before permanently installing the strip, connect it to the appropriate power supply and check that it operates correctly.
Check for:
- Consistent illumination
- Correct colour
- Correct dimming operation, if applicable
- Proper connections
- No damaged sections
Testing before installation can save considerable time if an issue is discovered.
Step 4: Clean the mounting surface
The mounting surface should be clean, dry and free from dust, grease and other contaminants.
This is particularly important for adhesive-backed LED strips because contamination can reduce adhesion.
Step 5: Mark the installation position
For straight installations, use a measuring tool or spirit level to mark the desired position.
This is particularly useful for visible installations where even alignment is important.
Step 6: Apply the LED strip
Peel back a small section of the protective backing and carefully position the LED strip.
Continue removing the backing gradually while pressing the strip into position.
Avoid stretching the LED strip during installation.
Step 7: Check the finished installation
Once installed, check the entire length of the LED strip.
Look for:
- Uneven sections
- Loose areas
- Visible gaps
- Incorrect alignment
- Flickering
- Poor connections
How to Install LED Strip Lights in Aluminium Profiles
Aluminium profiles provide a more structured installation method and are commonly used where appearance, protection and heat management are important.
A typical LED profile installation consists of:
Aluminium profile → LED strip → diffuser → end caps → power connection
Step 1: Measure the installation area
Measure the required profile and LED strip length.
Plan the position of the power supply and cable entry before cutting the profile.
Step 2: Cut the profile and LED strip
Cut the aluminium profile to the required length.
If the LED strip needs to be cut, only cut it at its designated cutting points.
For the cleanest result, ensure the profile, diffuser and LED strip are accurately measured before cutting.
Step 3: Test the LED strip
Connect the LED strip to the correct power supply and test it before permanently installing it.
Step 4: Position the profile
Place the aluminium profile in the desired location.
Use a spirit level where a straight installation is required and mark the fixing points.
Step 5: Fix the aluminium profile
Depending on the profile design and installation surface, profiles may be fixed using screws, mounting clips or another appropriate mounting method.
Ensure the fixing method is suitable for the surface.
Step 6: Install the LED strip
Clean the inside of the aluminium profile and install the LED strip onto the profile.
Make sure the strip is positioned correctly and does not overlap or fold.
Step 7: Install the diffuser
Once the LED strip has been installed and tested, fit the diffuser into the aluminium profile.
The diffuser helps protect the LED strip and can provide a smoother, more uniform appearance.
Why Use Aluminium Profiles for LED Strip Lighting?
Aluminium profiles are particularly useful for professional LED lighting installations.
1. Better heat management
LED strips produce heat during operation. Aluminium profiles can help transfer heat away from the LED strip and into the surrounding environment.
This can be particularly important for higher-output LED strips and installations where the lighting operates for extended periods.
2. Professional appearance
An aluminium profile creates a clean and integrated lighting installation.
Combined with a diffuser, it can reduce the visibility of individual LED points and create a smoother appearance.
3. Physical protection
The profile and diffuser provide an additional layer of protection around the LED strip.
4. Cleaner installation
Profiles help create a defined channel for the LED strip, making the finished installation look more structured and professional.
5. Architectural applications
Aluminium profiles are particularly suitable for:
- Recessed lighting
- Surface-mounted lighting
- Under-cabinet lighting
- Cove lighting
- Wardrobes
- Joinery
- Stair lighting
- Retail displays
- Commercial interiors
- Architectural details
LED Strip Lighting Connectors
LED strip connectors can simplify installation when joining LED strip sections or connecting the strip to power cables.
Depending on the LED strip, you may need:
- Strip-to-strip connectors
- Strip-to-wire connectors
- Corner connectors
- L-shaped connectors
- T-shaped connectors
- RGB connectors
- Waterproof connectors
- IP67 connectors
Vesta Lines offers a range of LED strip connectors designed for different strip widths and configurations.
For example, Vesta Lines has 8mm and 10mm connector options, as well as 2-pin and 4-pin connectors for different LED strip applications.


How to Choose the Right LED Strip Power Supply
Choosing the correct power supply ( LED Drivers ) is an important part of an LED strip installation.
First, check:
- LED strip voltage
- Power consumption per metre
- Total strip length
- Dimming requirements
- Controller requirements
- Installation environment
- Required safety and compliance specifications
Example
If an LED strip consumes 10W per metre and you install 3 metres:
10W × 3m = 30W
The power supply should be selected with sufficient capacity for the calculated load, while also allowing an appropriate operating margin.
For larger installations, the load should be calculated based on the actual LED strip specifications rather than simply selecting a power supply based on the strip length.
Vesta Lines can help you determine the appropriate combination of LED strip, driver, controller and accessories for your application.
What Is the Maximum Length of LED Strip I Can Run?
The maximum recommended continuous length depends on the specific LED strip.
LED strips can have different maximum run lengths depending on:
- LED strip wattage
- Voltage
- PCB design
- LED density
- Copper thickness
- Installation method
- Power injection arrangement
Running a strip beyond the manufacturer’s recommended maximum can contribute to voltage drop, which may cause the LEDs at the far end of the strip to appear dimmer than those closer to the power connection.
For longer installations, possible solutions include:
- Shorter individual runs
- Multiple power feeds
- Power injection
- Parallel wiring
- Higher-voltage LED strips where appropriate
- Correctly sized cable
Always follow the manufacturer’s specifications for the particular LED strip being installed.
LED Strip Voltage: 12V vs 24V
LED strips are commonly available in 12V DC and 24V DC versions.
For a particular power requirement, a 24V system operates at a lower current than a 12V system. This can be beneficial for longer runs and larger installations, although the correct voltage must always match the LED strip and power supply.
Never connect a 12V LED strip to a 24V power supply.
Always check the voltage printed on the LED strip and confirm that the driver or power supply matches.
Can LED Strip Lights Be Cut?
Many LED strip lights can be cut, but not every LED strip can be cut at every point.
Look for the designated cutting marks on the PCB.
The correct procedure is:
- Switch off the power.
- Identify the manufacturer’s cutting marks.
- Cut directly at the designated point.
- Ensure the cut is clean.
- Use an appropriate connector or soldered connection where required.
- Test the strip before completing the installation.
Cutting outside the designated cutting area can damage the LED strip.
Can LED Strip Lights Be Installed Outdoors?
Yes, but the LED strip must be suitable for the environment.
Outdoor and wet-area installations require appropriate protection against moisture and environmental exposure.
Depending on the application, this may include:
- IP-rated LED strip
- Waterproof connectors
- Suitable aluminium profiles
- Sealed end connections
- Appropriate power supplies
- Suitable cable and junction protection
For example, Vesta Lines offers IP67 waterproof LED strip connectors for compatible LED strip applications.
Always check that the LED strip, connector and other components have suitable ratings for the complete installation—not just one individual component.
Can I Install LED Strip Lighting Myself?
Simple plug-and-play low-voltage LED strip installations may be suitable for DIY applications when the products are designed for that purpose.
However, electrical work involving mains voltage, fixed wiring, power supplies or complex control systems should be carried out in accordance with applicable Australian requirements and by an appropriately licensed electrical professional where required.
For commercial, architectural or more complex installations, professional installation is recommended.
LED Strip Light Wiring Best Practices
For a reliable installation:
- Use the correct voltage.
- Use appropriately sized cable.
- Keep cable runs as short as practical.
- Check polarity before connecting DC LED strips.
- Avoid exceeding the recommended LED strip run length.
- Use suitable connectors.
- Provide adequate ventilation and heat management.
- Test the system before final installation.
- Keep power supplies accessible for maintenance.
- Follow the manufacturer’s installation instructions.
For RGB, RGBW and RGB+CCT systems, ensure the controller, cable and connector configuration matches the number of channels required by the LED strip.
Frequently Asked Questions
Can LED strip lights be installed without an aluminium profile?
Yes. Adhesive-backed LED strips can be installed directly onto suitable clean, smooth surfaces. However, aluminium profiles can provide better protection, heat management and a more professional finish.
Are aluminium profiles necessary for LED Strip Light?
Not always. The requirement depends on the LED strip, installation environment and desired finish. Aluminium profiles are particularly useful for architectural, commercial and premium residential installations.
Can I cut LED strip lights?
Many LED strips can be cut at designated cutting points. Always check the manufacturer’s specifications before cutting.
Why is one end of my LED Strip Light brighter than the other?
This can be caused by voltage drop, particularly on longer runs or higher-power LED strips. The solution may involve shorter runs, additional power feeds, power injection or a different installation configuration.
What voltage LED strip should I use?
The correct voltage depends on the specific product. Common options include 12V DC and 24V DC. Always match the LED strip voltage with the compatible power supply.
Do LED strip lights need a driver?
Most low-voltage LED strips require an appropriate DC power supply or driver. The power supply must match the voltage and have sufficient capacity for the connected load.
Should I use an aluminium profile?
For many professional installations, an aluminium profile is a valuable addition because it provides a cleaner appearance, physical protection and improved heat management.
What LED strip accessories do I need?
Depending on your installation, you may require:
- Aluminium profile
- Diffuser
- End caps
- LED strip connectors
- Power supply/driver
- LED controller
- Dimming equipment
- Extension cables
- Mounting accessories
Complete LED Strip Lighting Solutions from Vesta Lines
A successful LED strip installation involves more than choosing the LED strip itself. The strip, power supply, controller, connectors, aluminium profile and installation method should all work together as one system.
Vesta Lines supplies LED lighting products and accessories for residential, commercial and architectural applications, including:
- LED Strip Light
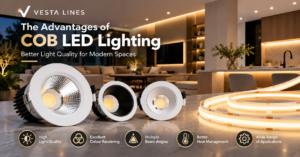
- COB LED strip lights
- RGB and RGB+CCT LED strips
- Aluminium LED profiles
- LED diffusers
- LED strip connectors
- Waterproof connectors
- LED drivers and power supplies
- LED controllers
- Dimming solutions
Whether you’re lighting a kitchen, wardrobe, retail display, commercial space or architectural feature, choosing the correct components from the beginning can help achieve a cleaner, more reliable result. contact us .
Explore Vesta Lines LED strip lighting and accessories to build a complete lighting solution for your project.