How to Create Dot-Free Linear Lighting with COB LED Strips
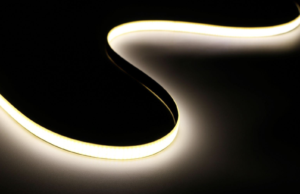
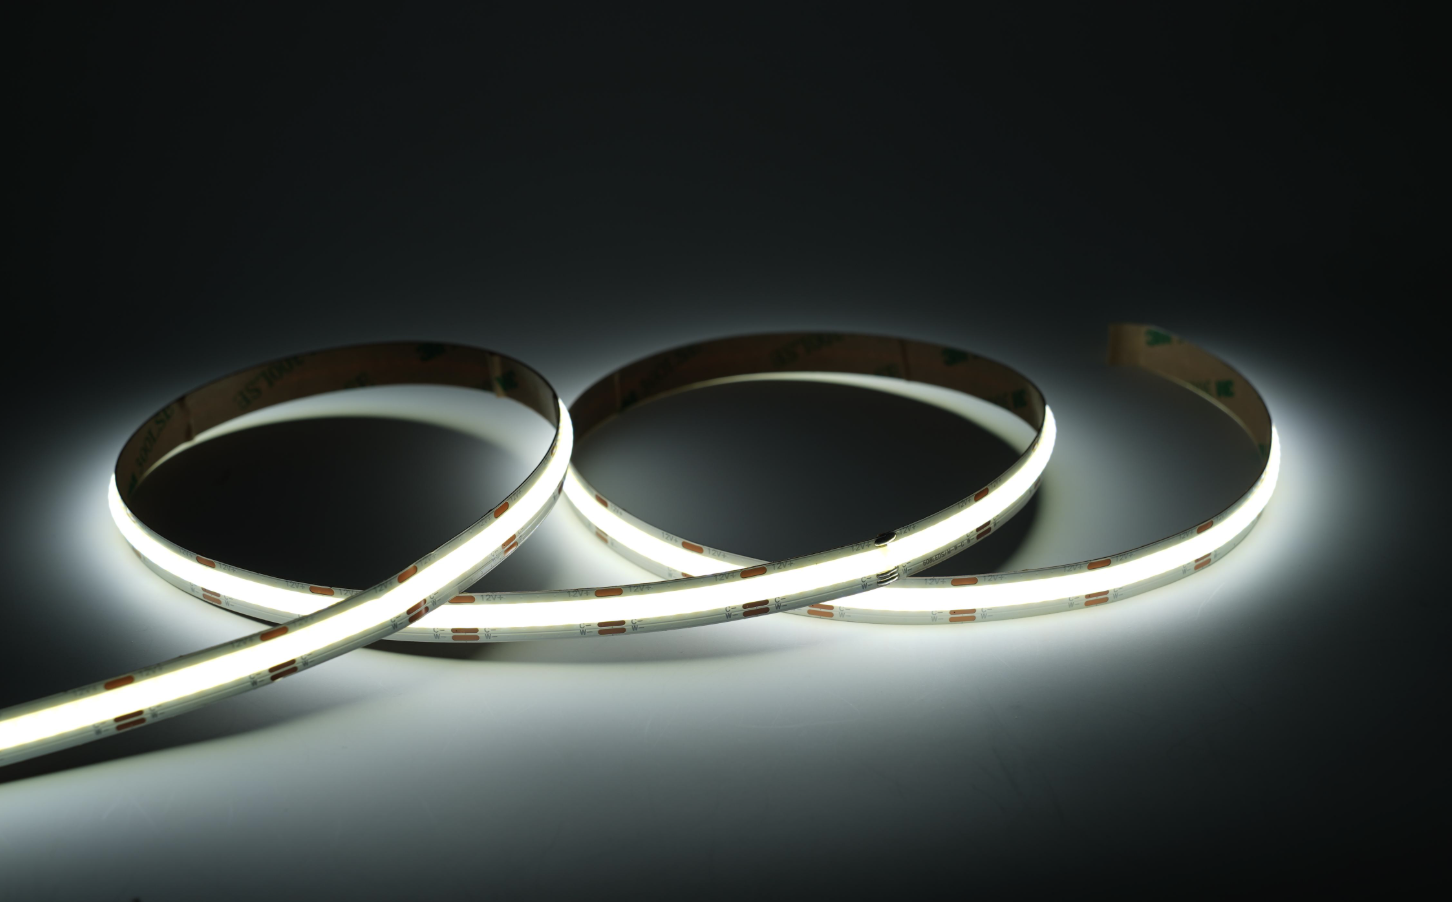
Dot-free linear lighting creates a smooth, continuous line of light without visible bright spots. It is a popular choice for modern homes, retail stores, hospitality venues and architectural projects.
However, achieving a clean finish depends on more than choosing the right LED strip. You also need to consider the COB technology, aluminium profile, diffuser, installation depth and lighting design.
In this guide, we explain how to create seamless linear lighting with COB LED strips and how to choose the right components for your project.
What Is Dot-Free Linear Lighting?
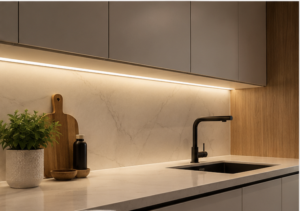
Dot-free linear lighting produces an even line of light rather than separate visible points. It works well in applications where the light source remains visible, such as under kitchen cabinets, inside display shelves, along ceilings and around architectural features.
Traditional SMD LED strips use individual LED packages. These can appear as visible dots when the strip sits close to a surface or uses a clear cover.
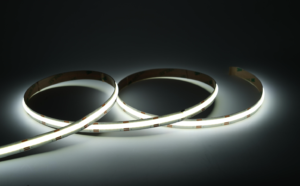
By contrast, COB LED strips place many LED chips closely together beneath a continuous phosphor layer. This creates a more uniform appearance and helps reduce visible spotting.
Why Choose COB LED Strip Lights?
COB stands for Chip on Board. This technology places closely spaced LED chips on a circuit board and covers them with a continuous phosphor layer.
As a result, COB LED strips can produce a smooth line of light without the obvious gaps often seen with traditional LED strips.
Key benefits include:
- Smooth light output: Creates a more continuous appearance.
- Reduced visible spotting: Helps minimise individual LED dots.
- Clean architectural finish: Suits modern and minimalist interiors.
- Flexible installation: Works in many suitable profiles and lighting details.
- Versatile applications: Can be used in cabinets, shelving, coves and display areas.
The final result still depends on the strip design, installation surface and viewing distance.
Choose the Right COB LED Strip
Start by selecting a COB LED strip that suits your project’s brightness and colour requirements.
Consider these factors before making your choice:
Brightness and Wattage
Choose the light output based on the application. Lower-power strips may suit decorative lighting, while higher-output strips can provide stronger task or architectural lighting.
Check the product’s stated lumens, watts per metre and operating requirements. Do not compare strips by wattage alone, as efficiency and light output can vary.
Colour Temperature
Colour temperature affects the mood and appearance of a space.
- 2700K–3000K: Warm light for relaxed residential and hospitality settings.
- 4000K: Neutral white for kitchens, work areas and commercial spaces.
- 6000K–6500K: Cool white for applications that need a cooler appearance.
For a consistent result, choose a colour temperature that complements the surrounding lights and finishes.
Colour Rendering
The Colour Rendering Index (CRI) indicates how accurately a light source renders colours. A higher CRI can be useful in kitchens, retail displays and areas where the appearance of materials matters.
Check the product specifications to confirm its CRI rather than assuming all COB strips offer the same performance.
Use an Aluminium LED Profile
An aluminium LED profile provides a neat mounting channel for the strip. It can also help manage heat and protect the installation.
For a professional finish, select a profile that suits the mounting surface and the dimensions of the COB strip.
Common profile applications include:
- Under kitchen cabinets
- Inside wardrobes and display shelving
- Recessed ceiling details
- Plaster-in or gyprock installations
- Wall niches and architectural features
- Commercial counters and joinery
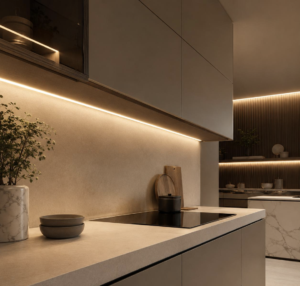
The profile must be compatible with the strip’s width and power output. Follow the manufacturer’s heat-management requirements, especially for higher-wattage strips.
Explore our aluminium LED extrusion profiles to compare options for your project.
Do You Need a Diffuser?
A diffuser helps soften the light and protects the LED strip. However, not every diffuser produces the same result.
A frosted diffuser can help blend the light and reduce glare. The final appearance depends on the diffuser material, profile depth, LED strip design and distance from the illuminated surface.
COB strips already offer a more continuous light output than many traditional SMD strips. A suitable profile and diffuser can further improve the overall finish.
Before installation, test a sample if the light will be visible at close range. This helps you check for reflections, uneven brightness and unwanted glare.
Plan the Installation Carefully
Good installation planning helps create an even line of light.
1. Measure the Lighting Run
Measure each section before cutting the strip or profile. Allow for corners, connectors, end caps and access to the power supply.
2. Check the Strip and Profile Width
Confirm that the LED strip fits the profile. Also, check the profile depth and mounting method to ensure they suit the project.
3. Select the Correct Power Supply
Match the power supply voltage to the LED strip. Calculate the total load using the strip’s wattage per metre and the installed length.
For example, a 5-metre strip rated at 10W per metre has a total load of 50W. Select a compatible power supply with suitable capacity and follow the manufacturer’s guidance.
4. Plan Power Feeds for Longer Runs
Long LED strip runs can experience voltage drop. This may cause uneven brightness or colour differences along the installation.
Consider the strip’s voltage, total length, conductor size and manufacturer’s maximum run guidance. Longer installations may require additional power feeds or a different system design.
Explore our LED strip lights to compare options for your project.
5. Test Before Final Installation
Test the strip, power supply and dimming controls before securing the finished installation. Check that the light output is even and that all connections work correctly.
This step can help identify problems before the profile is sealed or the ceiling and joinery are finished.
Common Mistakes to Avoid
Even a COB LED strip can produce an unsatisfactory result if the installation is poorly planned.
Avoid these common mistakes:
- Choosing a strip that does not provide enough light.
- Using a profile that is too narrow for the strip.
- Ignoring heat management requirements.
- Selecting an incompatible power supply or dimmer.
- Running long strips without checking voltage drop.
- Mixing different colour temperatures in the same visible lighting line.
- Assuming every COB strip will look identical through every diffuser.
Taking time to select compatible components helps create a more consistent and professional finish.
Where Can You Use Dot-Free COB LED Lighting?
Dot-free linear lighting suits a wide range of applications.
Kitchens: Install it under cabinets to provide task lighting across benchtops.
Wardrobes: Use it in shelves and storage areas for a clean, modern appearance.
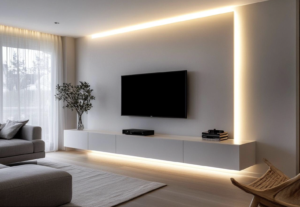
Living rooms: Add indirect lighting to ceiling coves, wall niches and joinery.
Retail stores: Highlight products and display shelves with a continuous line of light.
Hospitality venues: Create subtle lighting details around bars, counters and feature walls.
Offices: Use suitable linear lighting details to complement the wider lighting design.
For each application, select the strip, profile, diffuser and power supply to match the required brightness and installation conditions.
Create a Clean Linear Lighting Finish with Vesta Lines
COB LED strip lights provide a practical way to create smooth, dot-free linear lighting. When paired with a suitable aluminium profile and diffuser, they can deliver a clean finish for residential and commercial projects.
For the best results, check the light output, colour temperature, profile dimensions, heat management and power requirements before installation.
Explore the Vesta Lines LED strip light range and aluminium extrusion profiles to find suitable components for your next lighting project.